If looking for design versatility or water resistance, how to install sheet vinyl flooring. At 2ndfloorting, we know that installation is the most important aspect of a floor’s long life. Whether you are updating a bathroom or kitchen, or applying the finishing details of a basement renovation, learning how to install sheet vinyl properly can be done easily! In this article, we’ll explain everything about how to install sheet vinyl flooring.
What do you put under vinyl sheet flooring?
The underlayment when laying vinyl sheet flooring is critical to your successful installation. For wooden subfloors 6mm plywood is the preferred choice as it’s strong and water resistant. In damp locations or when you’re working over concrete, it’s advisable to use cement board or specialty underlayment boards (e.g., Sure Ply), which forms a stable, level base. Foam underlayment is cheap and provides cushioning and sound reduction, while cork does a good job at comfort and sound absorption too but requires an added moisture barrier if installed over concrete. Felt or fiber underlayment adds warmth, absorbs shock, and blocks more sound. A flat and clean subfloor is required to prevent telegraphing imperfections, so you’ve got to prep it properly.

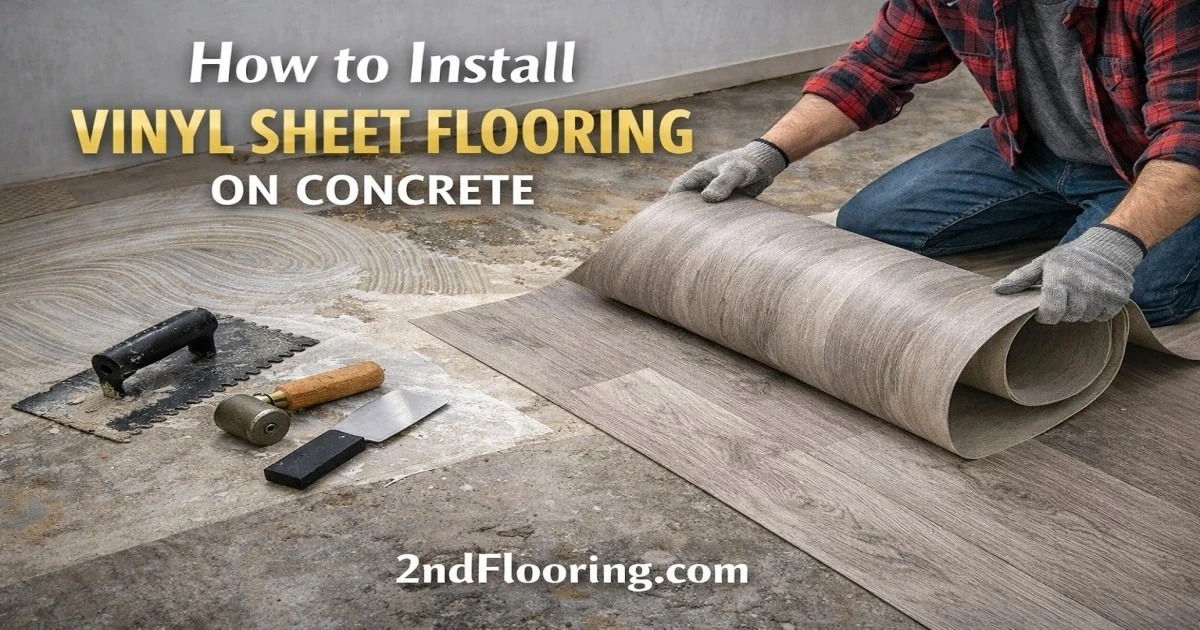
How to install vinyl sheet flooring on concrete
Not only is this type of flooring one of the most affordable options, but it will help to reduce your cleaning and maintenance costs. The concrete subfloor needs to be carefully prepared for installation, including repairing any cracks or high spots. A moisture barrier is recommended, and underlayment materials such as foam or cork will add more comfort and insulation. The correct application of adhesive and attention to detail is the most important part for a professional looking and long lasting installation.
Installation Process
Prepare the Subfloor:
Make certain the concrete is clean, smooth and dry. Grind or chip away any cracks or blemishes in concrete using a masonry chisel and/or grinder, smoothing out uneven portions. Sweep the floor free of dust, dirt and trash.
Apply Moisture Barrier:
Apply a moisture barrier because of the possibility that concrete can be damp and can cause harm to vinyl sheet flooring. Again, this is crucial if your concrete surface has a lot of moisture in it.
Install Underlayment (Optional):
You can use an underlayment like foam, cork, or felt for more comfort, warmth, or sound control if you want. Smooth underlayment and cover the entire floor as necessary.
Measure and Cut Vinyl:
Measure the floor and cut the vinyl sheet to size, allowing extra around the edges for final trimming. A template is helpful for making more accurate cuts, especially in a room with odd angles.
Apply Adhesive:
Apply adhesive to the concrete with a notched trowel, covering the section where the vinyl will be placed. Allow the adhesive to set up according to the manufacturer’s recommended open time.
Lay the Vinyl:
Lay the vinyl sheet onto the adhesive and Smoother, press firmly to adhere. Spread out any air bubbles with a floor roller to make sure the vinyl is in full contact with the adhesive.
Trim Edges:
After vinyl is installed, cut the excess along the edges and leave a small space (1/8-inch) to allow for expansion. Make sure the vinyl is tight against walls or other obstructions.
Seal the Seams (If Necessary):
Where seaming is necessary, follow manufacturers’ recommendations for applying seam sealer to join seams and achieve a seamless appearance.
Reinstall Trim and Moulding:
Reinstall or replace the trim and molding, making sure they are a little bit off the ground to allow for expansion.
Allow Adhesive to Dry:
Allow the adhesive to cure for at least 24 hours before walking on the floor. They can also be applied after the summer months (since this is when these stains are typically made) as long as there is no foreseeable heavy foot traffic which may cause the vinyl not to settle well.
How to install vinyl sheet flooring on plywood
Laying Vinyl Sheet Flooring On Plywood Installing vinyl sheet flooring on plywood gives you a much more cost-effective floor solution. For a finished product that looks as good as this, it’s all in the prep work of the plywood subfloor. This involves having a clean, dry level surface and using the proper kind of plywood and adhesives. how to install vinyl sheet flooring over plywood 1 Follow these step-by-step instructions to easily install vinyl sheet flooring and get a professional look. Read More Article Vapor barrier basement floor.
Installation Process
Prepare the Plywood Subfloor
Before you install vinyl sheet flooring, make sure the plywood is smooth, dust-free and dry. Brush away any dust or dirt, and fill any gaps or cracks with wood filler. If there are dents, sand them in or apply self-levelling compound to achieve a level surface. Be sure that the plywood is attached securely to help prevent annoying creeks.
You can also do a moisture barrier or primer (optional)
After it’s installed, if you’re getting wet do the following: If you’re installing it in wet areas (bathrooms, kitchens) you’ll want to apply a moisture barrier primer to keep them from warping. For glue-down vinyl, you’ll want an adhesion-enhancing primer.
Acclimate the Vinyl
Unroll the roll and let it acclimate to room temperature minimum for 24 hours before installation. This ensures that the floor won’t move up or down after installation.
Cut the Vinyl Sheet to Size
Measure out and cut the vinyl sheet to size of room with a 5mm expansion gap left all round. Cut the vinyl with a utility knife and straight edge, being very careful.
Apply Adhesive
Spread adhesive on the plywood subfloor with a notched trowel. Follow the manufacturer’s recommendations for application of the appropriate adhesive. Allow the adhesive to dry to its recommended open time before bonding.
Lay the Vinyl Sheet
Place the vinyl onto the adhesive, smoothing it out. Wipe off any air bubbles with a Floor Roller, or other heavy weight, and for better lamination adhesion。 This will assist the vinyl in taking to the subfloor, and result in an even surface.
Trim the Edges and Finish
Trim off any surplus vinyl and fit floor edging or skirting boards. And make sure the transitions are cut clean and that there is a little bit of gap left between vinyl and walls to allow for natural expansion.
Allow the Adhesive to Set
Allow the adhesive to cure for 24 hours before walking on the floor for secure placement. During this time try to keep excessive foot traffic down as much as possible.
By using these steps you can install your Vinyl Sheet Flooring on a plywood subfloor for an easy, durable and beautiful new floor in any room in your house.
Does sheet vinyl flooring need to be glued down?
Sheet vinyl flooring provides installation flexibility through a variety of methods, such as full-spread adhesive, perimeter-adhered or freely laid. For little residential applications which receive normal to light traffic, a less amount of adhesive is adequate so that when the tiles are eventually removed, it will make them less difficult to be pulled up. But for heavy traffic or large commercial installations, a full glue-down is necessary to avoid movement, wrinkles and damage. Correct adhesive application maintains stability, wear and performance over time for any space, creating a long-lasting solution.
What glue is used for sheet vinyl flooring?
When it comes to a successful sheet vinyl flooring installation, the adhesive is just as important as the prep work. Acrylic adhesive developed for use in sheet goods provides a strong, flexible and moisture-resistant bond. Good options for adhesive, which ensures good stick and are friendly to coverings of vinyl floor include MAPEI Ultra bond ECO 373 (pressure-sensitive) or Roberts 6280. They are generally spread using either a fine-notched trowel or roller to obtain perfect coverage, avoid bubbling, and ensure the adhesion is as strong as possible between your vinyl and floor. By choosing and using the right adhesive, your floor will look great for years to come!
How long does it take to install vinyl sheet flooring
How Long Does Vinyl Sheet Flooring Installation Take? Standard install for a typical room is 2-6 hours, while larger or more intricate installations will take between 1-2 days to complete. Prep time – cleaning, leveling subfloor, and/or acclimating the vinyl – is generally another 4-8 hours on top of all that. Variables like the condition of the subfloor, installation method (loose-lay versus glued-down) and obstacles such as cabinets and pipes can impact the timeline. In addition, the vinyl needs to settle 24-48 hours so that it will not form a bubble or be stretched.
What are common vinyl installation mistakes?
Frequent vinyl mistakes are a result of inadequate preparation or working too fast. However, the most common mistakes are not getting the subfloor ready, forgetting to let the vinyl sit at least 24 -48 hours in the room to become ambient and not leaving an expansion gap all around. In addition, improper adhesives, tools or pre steps can cause separation, Warping and early wear. Proper measurements, precise cuts and an installation of the entire room are important to the life of the vinyl.
Conclusion
In this article we have learnt about how to install sheet vinyl flooring? Sheet vinyl flooring should be laid with preparation and in details. Correct subfloor preparation, choosing the appropriate adhesive and giving the vinyl time to acclimatize to room temperature are key factors in delivering a long-lasting professional finish. By sidestepping some of the most common installation errors, and adhering to manufacturer recommendations, you will soon enjoy a beautiful floor that’s as durable as it is good looking. When you rely on the experts, your vinyl floor will live up to its promise of performance and results.

